Collabora Deployment Notes
Support and documentation for applications within the Stable catalog is handled by the TrueNAS community. The TrueNAS Applications Portal hosts but does not validate or maintain any linked resources associated with this app.
We welcome community contributions to keep this documentation current! Click Edit Page in the top right corner to propose changes to this article.
The TrueNAS Collabora app offers an efficient solution for deploying and managing a powerful online office suite. TrueNAS installs the Collabora app in a Docker container using Docker Compose. Once deployed, you can access the Collabora Online interface through TrueNAS, enabling seamless document editing and collaboration. Collabora supports popular file formats like DOCX, XLSX, and PPTX, ensuring compatibility with Microsoft Office documents. With real-time collaboration, robust editing tools, and integration with platforms like Nextcloud, the Collabora app provides a reliable and feature-rich environment for your productivity needs.
Collabora provides a Quickstart Setup Guide with step-by-step instructions to help users get started.
Prepare TrueNAS before installing Collabora by:
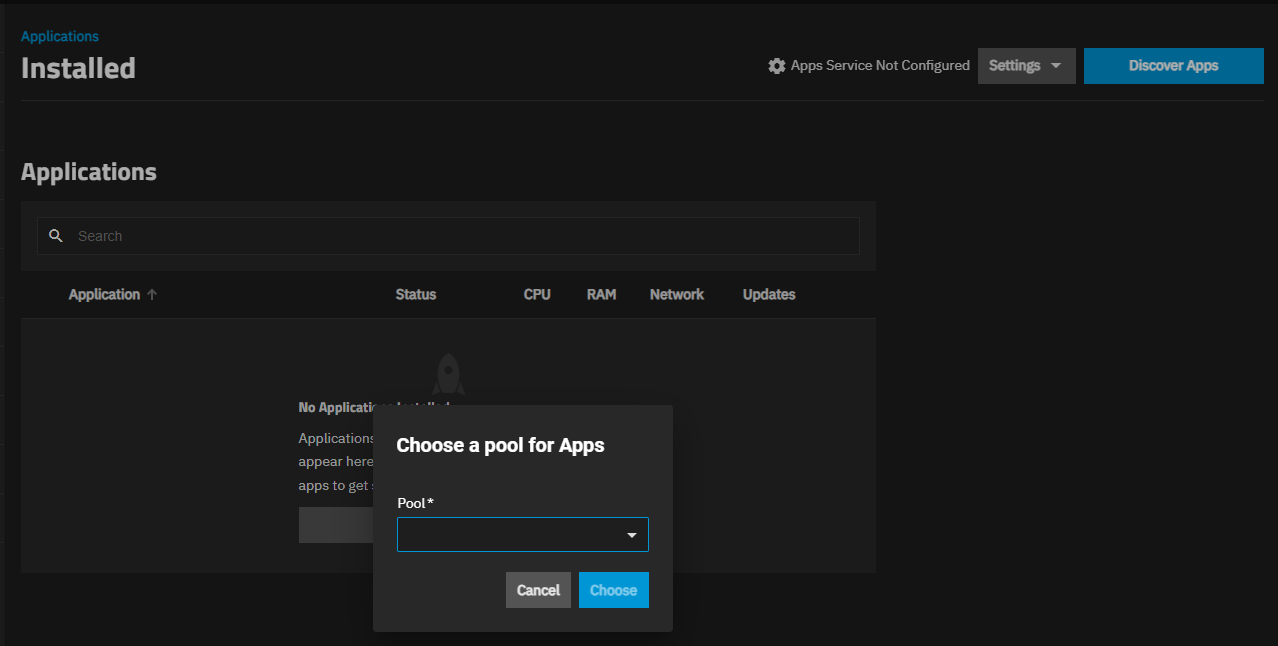
Set a pool for applications to use if not already assigned.
You can use either an existing storage pool or create a new one. TrueNAS creates the ix-apps (hidden) dataset in the pool set as the application pool. This dataset is internally managed, so you cannot use this as the parent when you create required application datasets.
After setting the pool, the Installed Applications screen displays Apps Service Running on the top screen banner.
Locate the run-as user for the app.
Take note of the run-as user for the app, shown on the app information screen in the Run As Context widget and in the Application Metadata widget on the Installed applications screen after the app fully deploys. The run-as user(s) get added to the ACL permissions for each dataset used as a host path storage volume.
(Optional) Create datasets for the storage volumes for the app.
Do not create encrypted datasets for apps if they are not required! Using an encrypted dataset can result in undesired behaviors after upgrading TrueNAS when pools and datasets are locked. When datasets for the containers are locked, the container does not mount, and the apps do not start. To resolve issues, unlock the dataset(s) by entering the passphrase/key to allow datasets to mount and apps to start.You can create the required datasets before or after launching the installation wizard. The install wizard includes the Create Dataset option for host path storage volumes. This allows you to create the parent dataset if you want to organize the required datasets under a parent, or you can create all datasets before you begin installing the app.
To create datasets before using the Install Frigate wizard, go to Datasets and select the pool or parent dataset where you want to place the dataset(s) for the app. For example, /tank/apps/appName.
Create a parent dataset, such as Collabora, within your apps pool. Collabora is designed to store data internally within the containerized environment and therefore does not require any additional datasets. If you wish to create optional storage for persistent data on TrueNAS, you must create those datasets before you install the app. If you create any elective datasets, select apps as the Dataset Preset for these datasets. You can modify the dataset ACLs at the time of creation, or modify them later when adding them to the app.
Follow the instructions below in Creating Datasets for Apps to correctly set up these datasets.
(Optional) Create a new TrueNAS user account to manage this application. When creating a new user account to manage this application or using an existing TrueNAS administrator account, enable sudo permissions for that TrueNAS user account, select Create New Primary Group, and add the appropriate group in the Auxiliary Group for the type of user you want to create. Make note of the UID for the new user to add in the installation wizard.
Add the user ID to the dataset ACL permissions when setting up app storage volumes in the Install app wizard.
This basic procedure covers the required Collabora app settings. For optional settings, see Understanding App Installation Wizard Settings.
You can have multiple deployments of the same app (for example, two or more from the stable or enterprise trains, or a combination of the stable and enterprise trains).
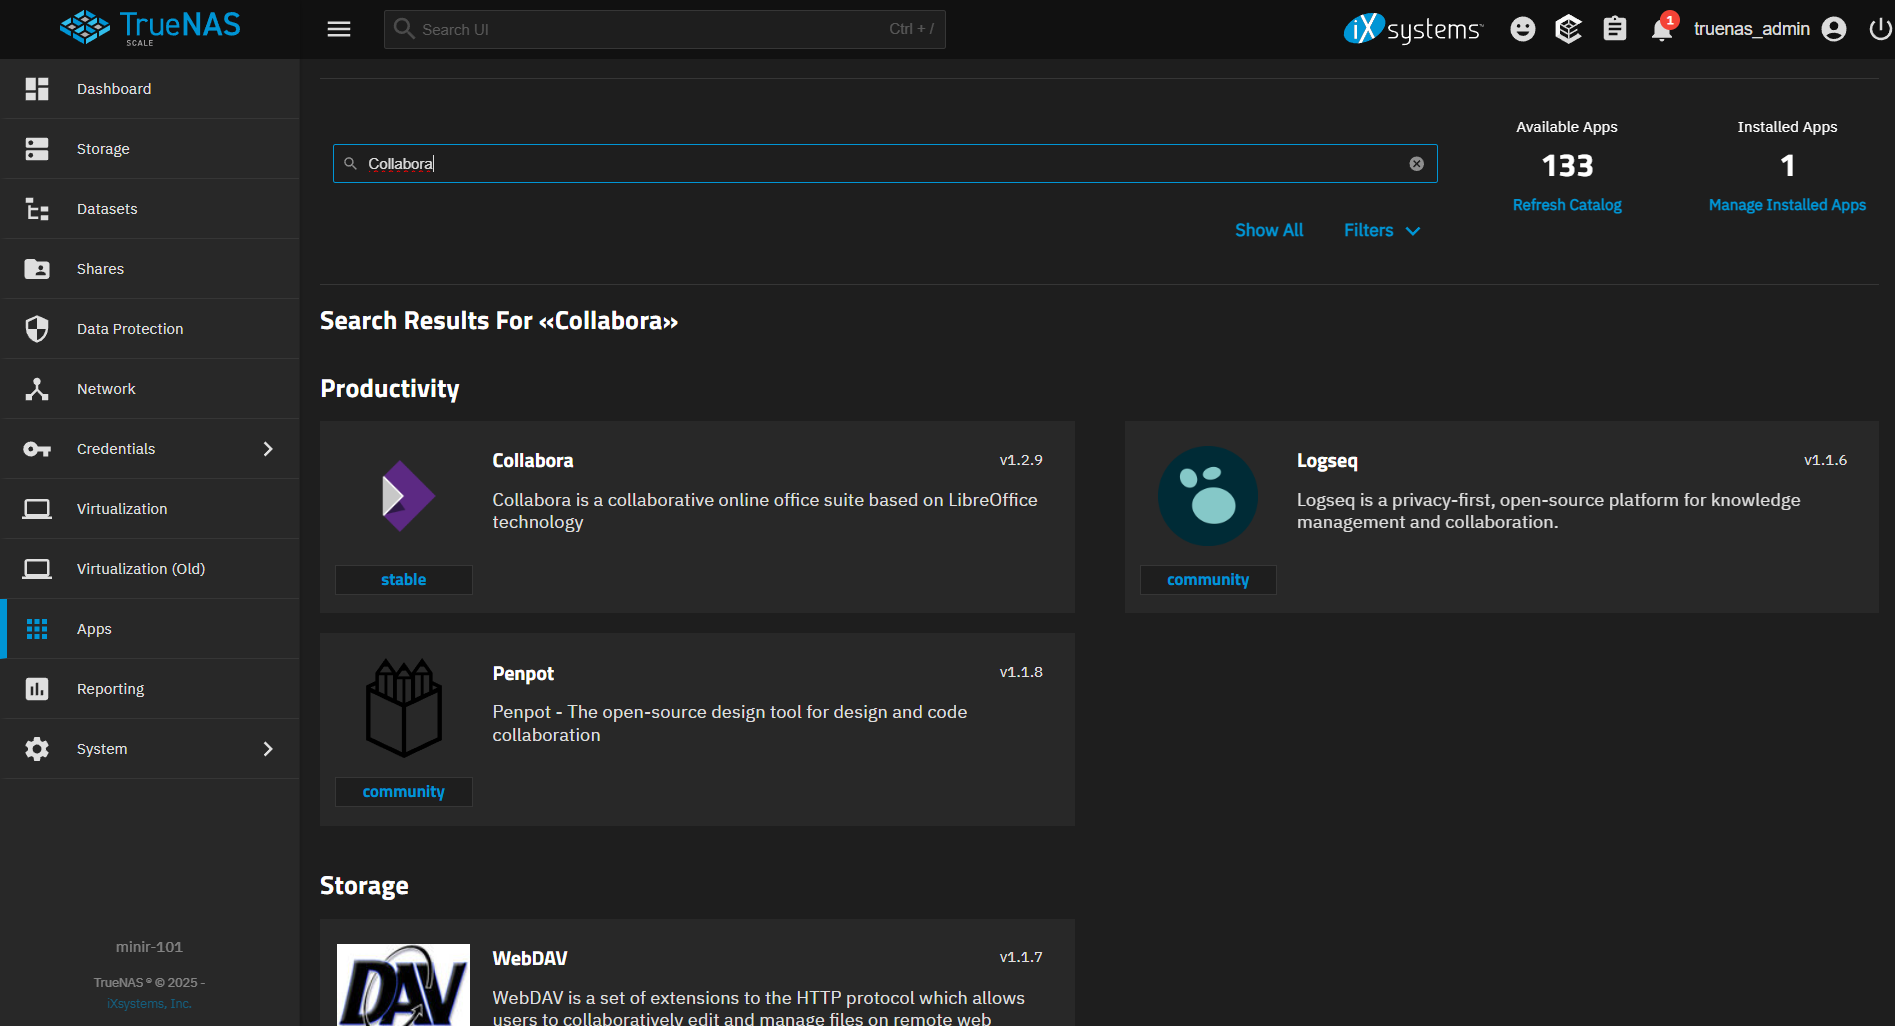
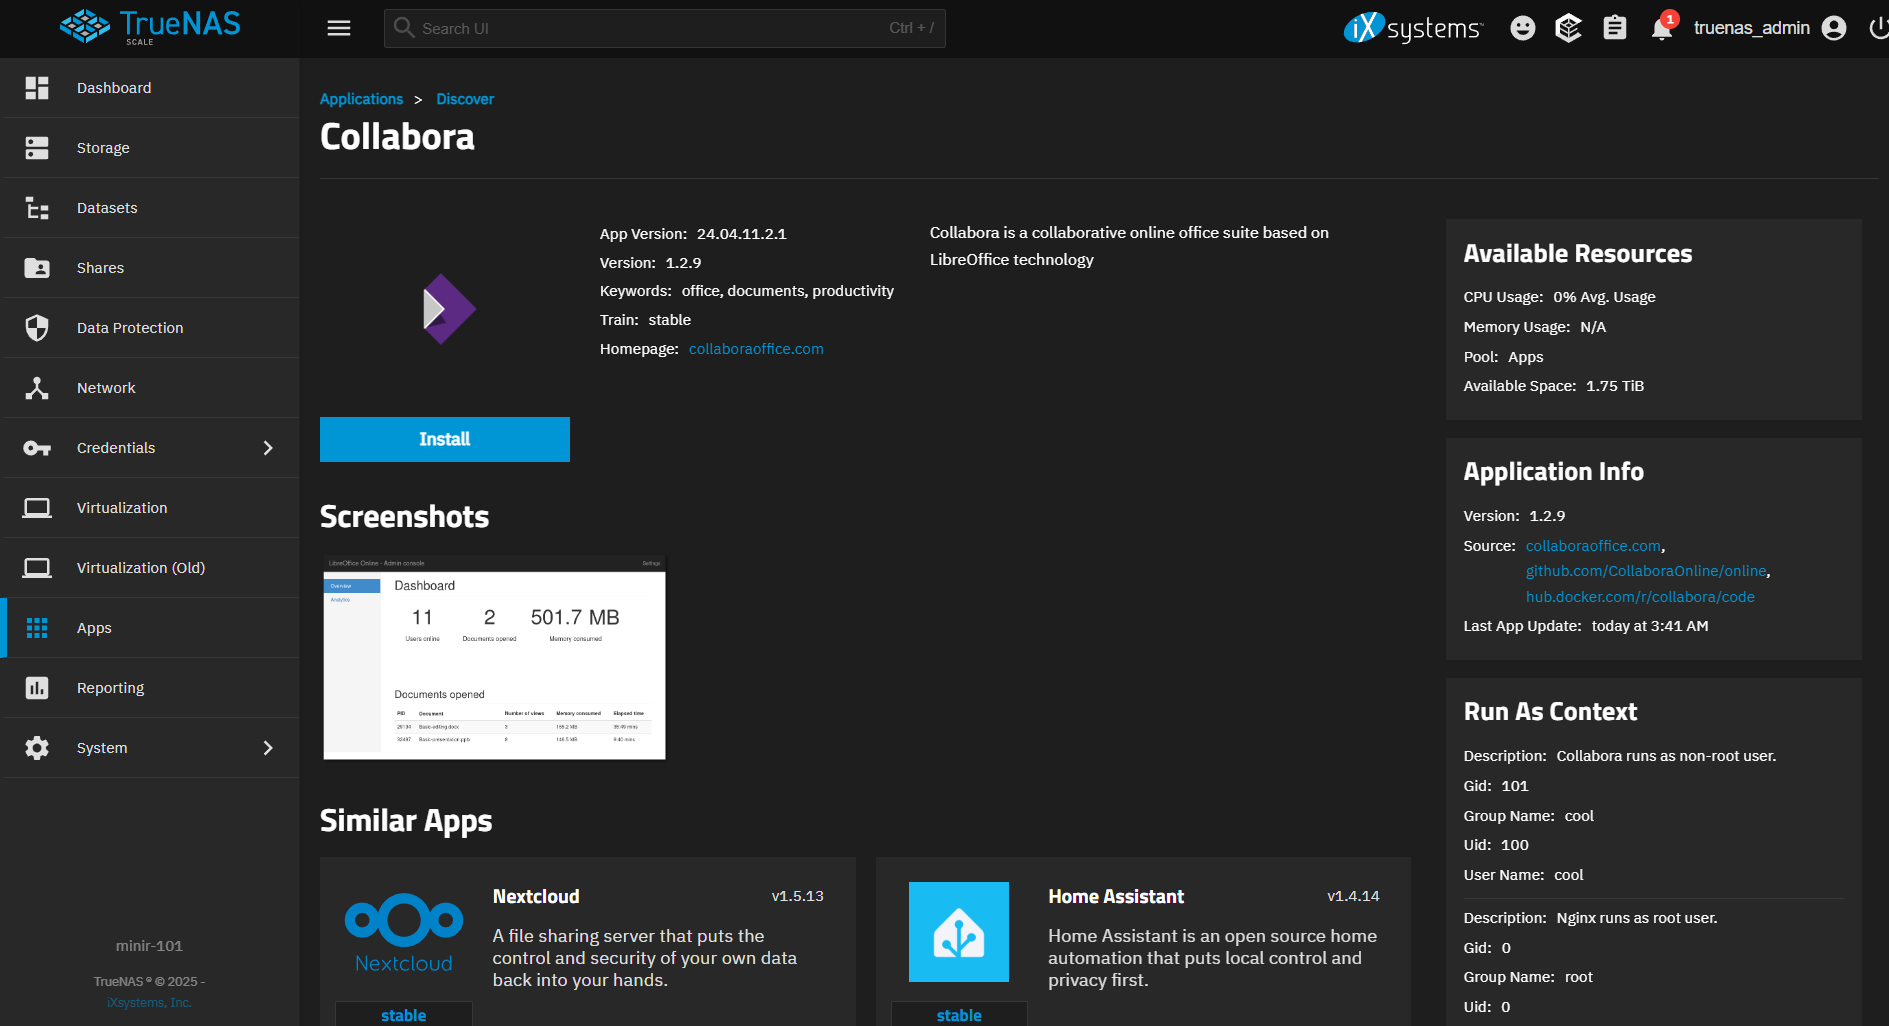
Go to Apps, click on Discover Apps, and locate the app widget by either scrolling down to it or typing the name into the search field. For example, to locate the Collabora app widget, begin typing Collabora into the search field to show app widgets matching the search input.
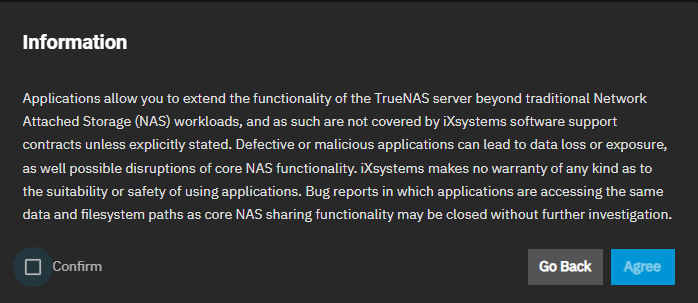
If this is the first application you are installing, TrueNAS displays a dialog about configuring apps.
If not the first time installing apps the dialog does not show, click on the widget to open the app information screen.
Click Install to open the app installation wizard.
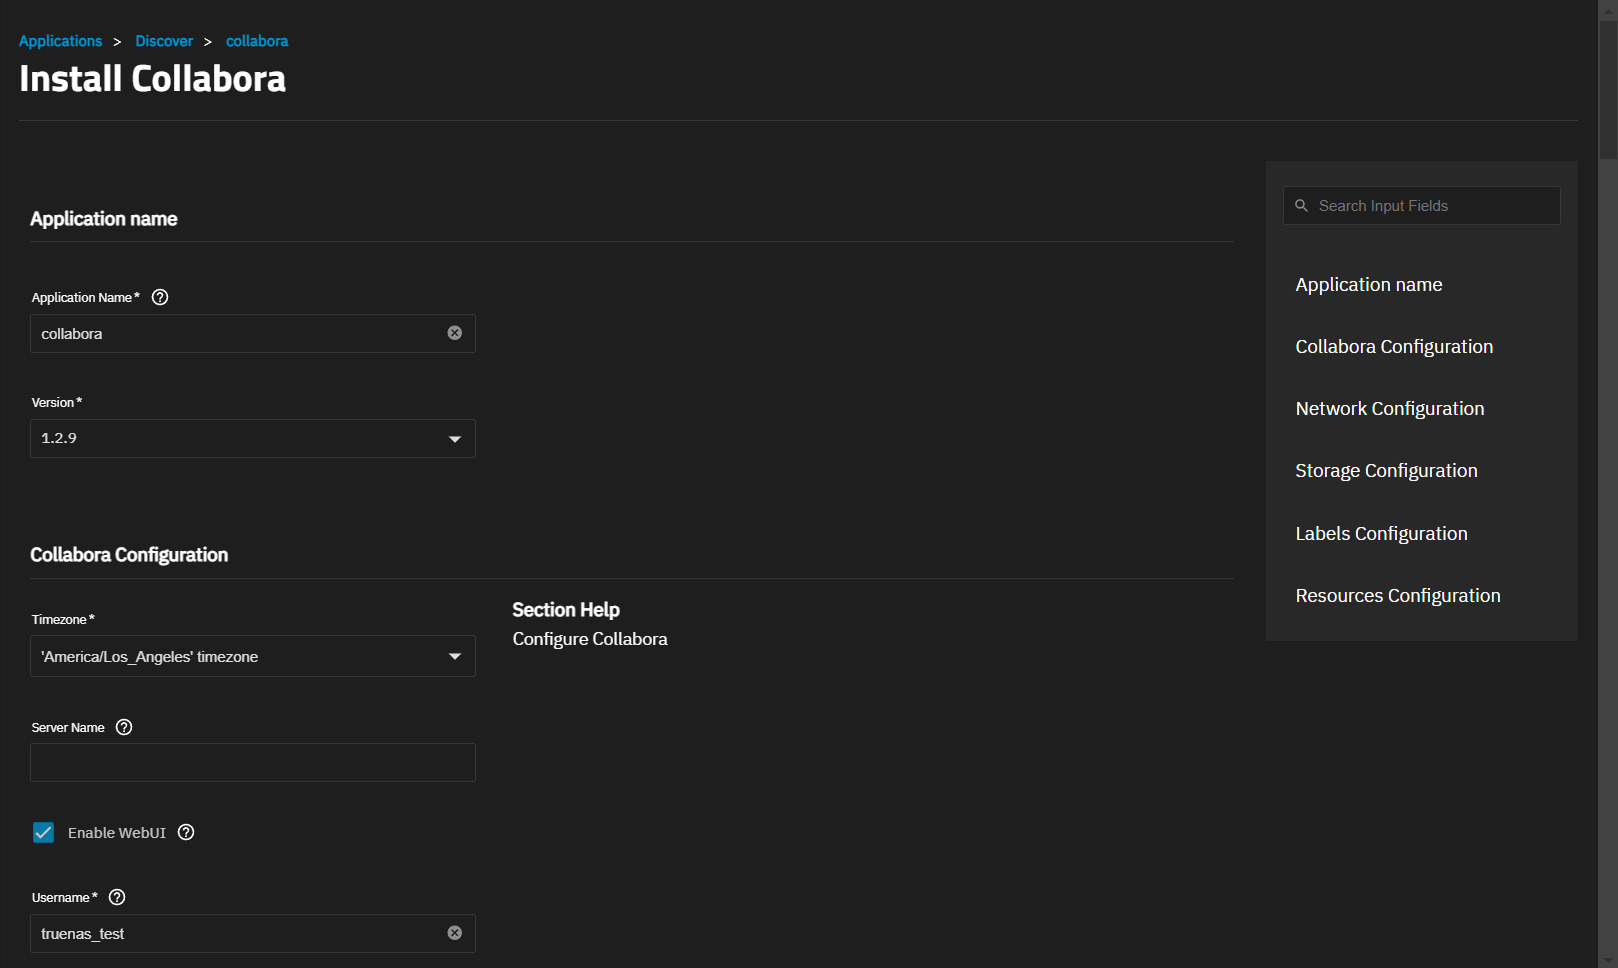
Application configuration settings are grouped into sections. Each section is explained below in Understanding App Installation Wizard Settings. To find specific fields begin typing in the Search Input Fields search field to show the section or field, scroll down to a particular section, or click on the section heading in the list of sections on the upper-right of the wizard screen.
Accept the default value or enter a name in Application Name field. In most cases use the default name, but if adding a second deployment of the application you must change this name.
Accept the default version number in Version. When a new version becomes available, the application shows an update badge and the Application Info widget on the Installed applications screen shows the Update button.
Enter the Collabora Configuration settings.
Note that the username and password you select during configuration are used to sign in to the Collabora dashboard.
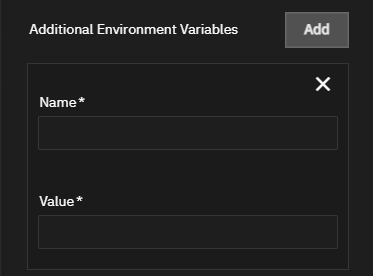
The TrueNAS app is configured with all the required environment variables, but if you want to further customize the container, click Add to the right of Additional Environment Variables for each to enter the variable(s) and values(s).
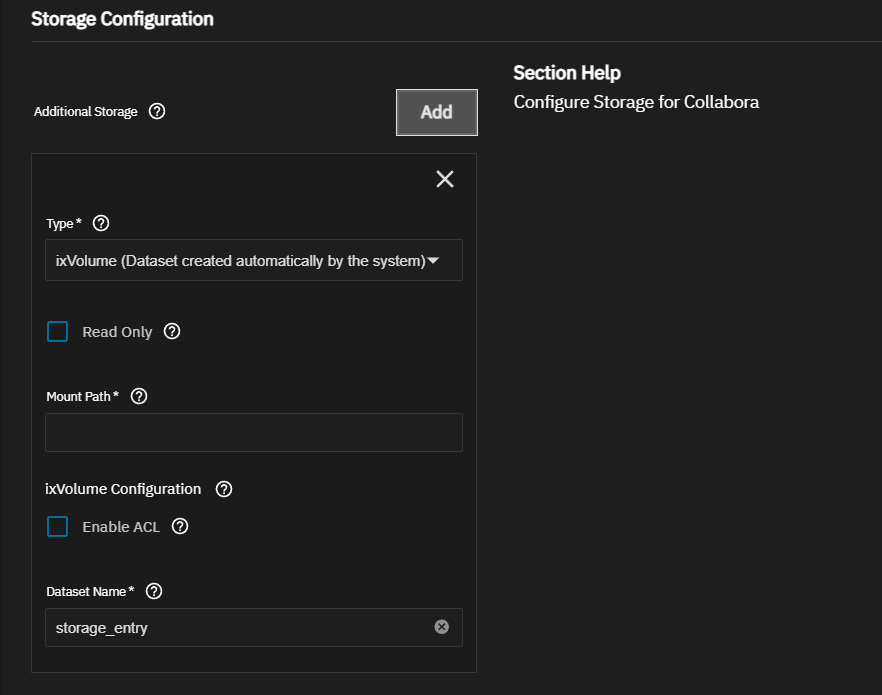
Add your Storage Configuration settings.
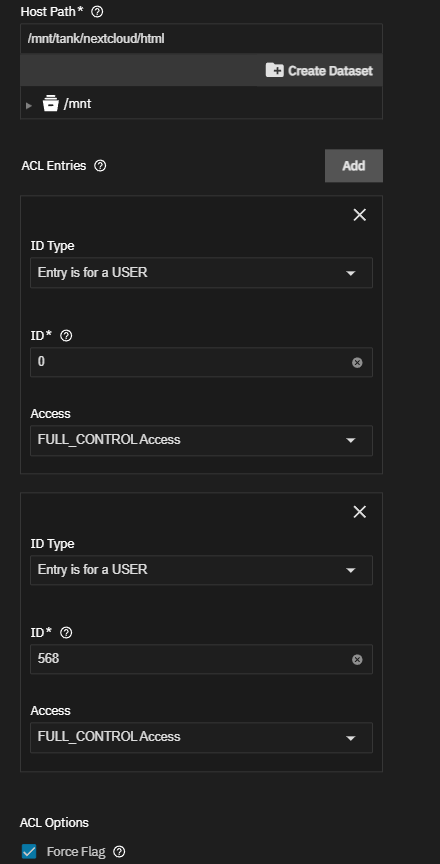
For example, if you create an optional dataset named data-storage, set Host Path (Path that already exists on the system) in Type. Select Enable ACL, then enter or browse to select the data-storage dataset to populate the Host Path field.
Click Add to the right of ACL Entries for each user or group entry you want to add. For example, add the 568 user and 0, and give each FULL_CONTROL Access.
Select Force Flag.
Repeat the storage steps above each additional storage volume. See Storage Configuration Settings below for more information.
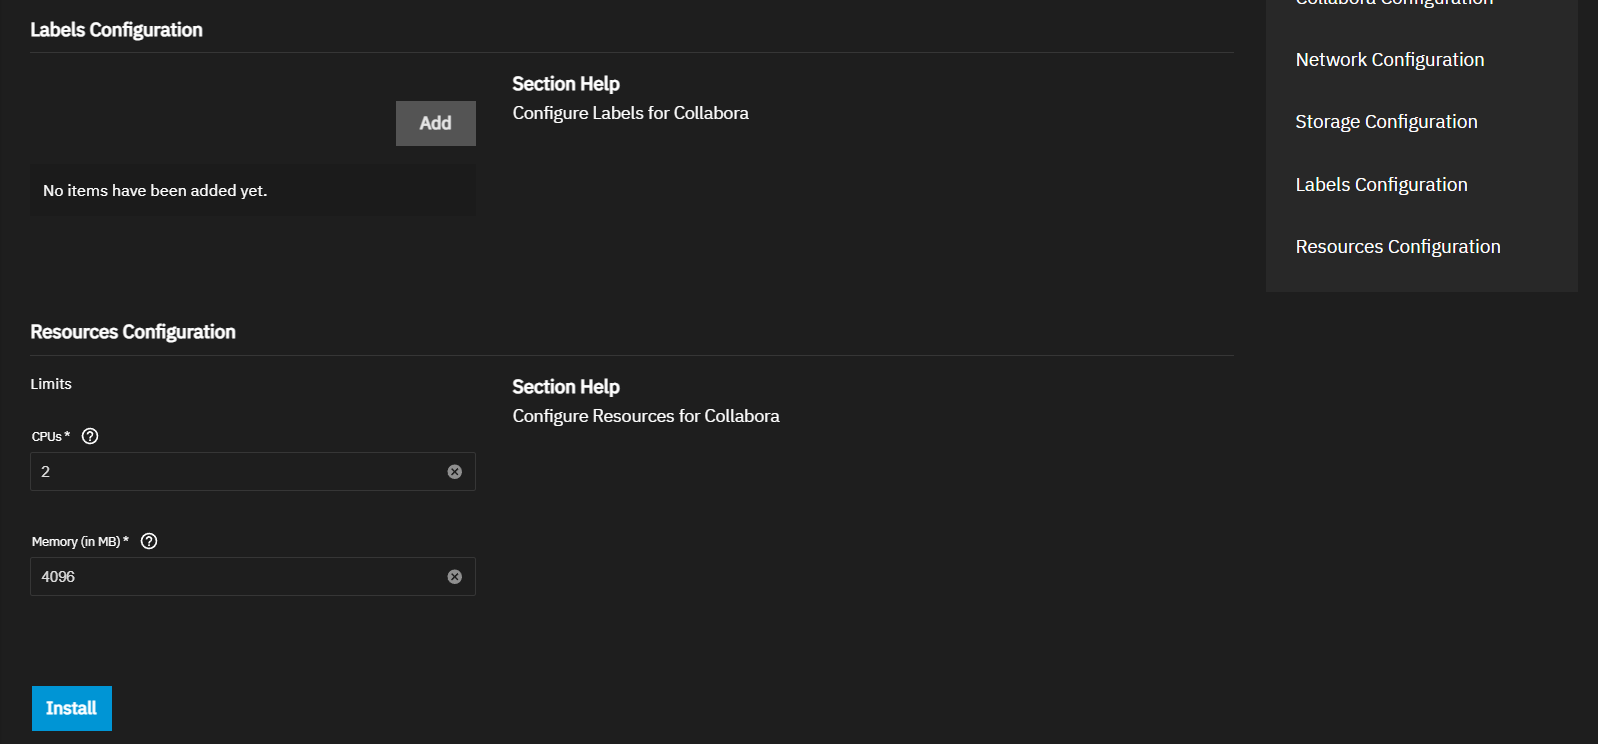
Accept the defaults in Resources Configuration, and select the GPU option if applicable.
Click Install. A progress dialog displays before switching to the Installed applications screen. The Installed screen displays with the Collabora app in the Deploying state. Status changes to Running when ready to use.
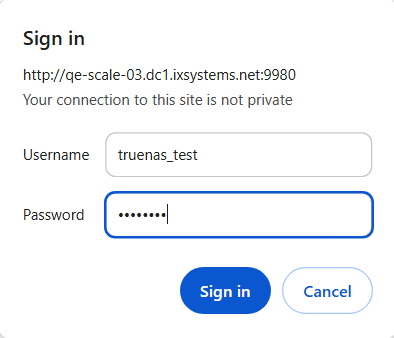
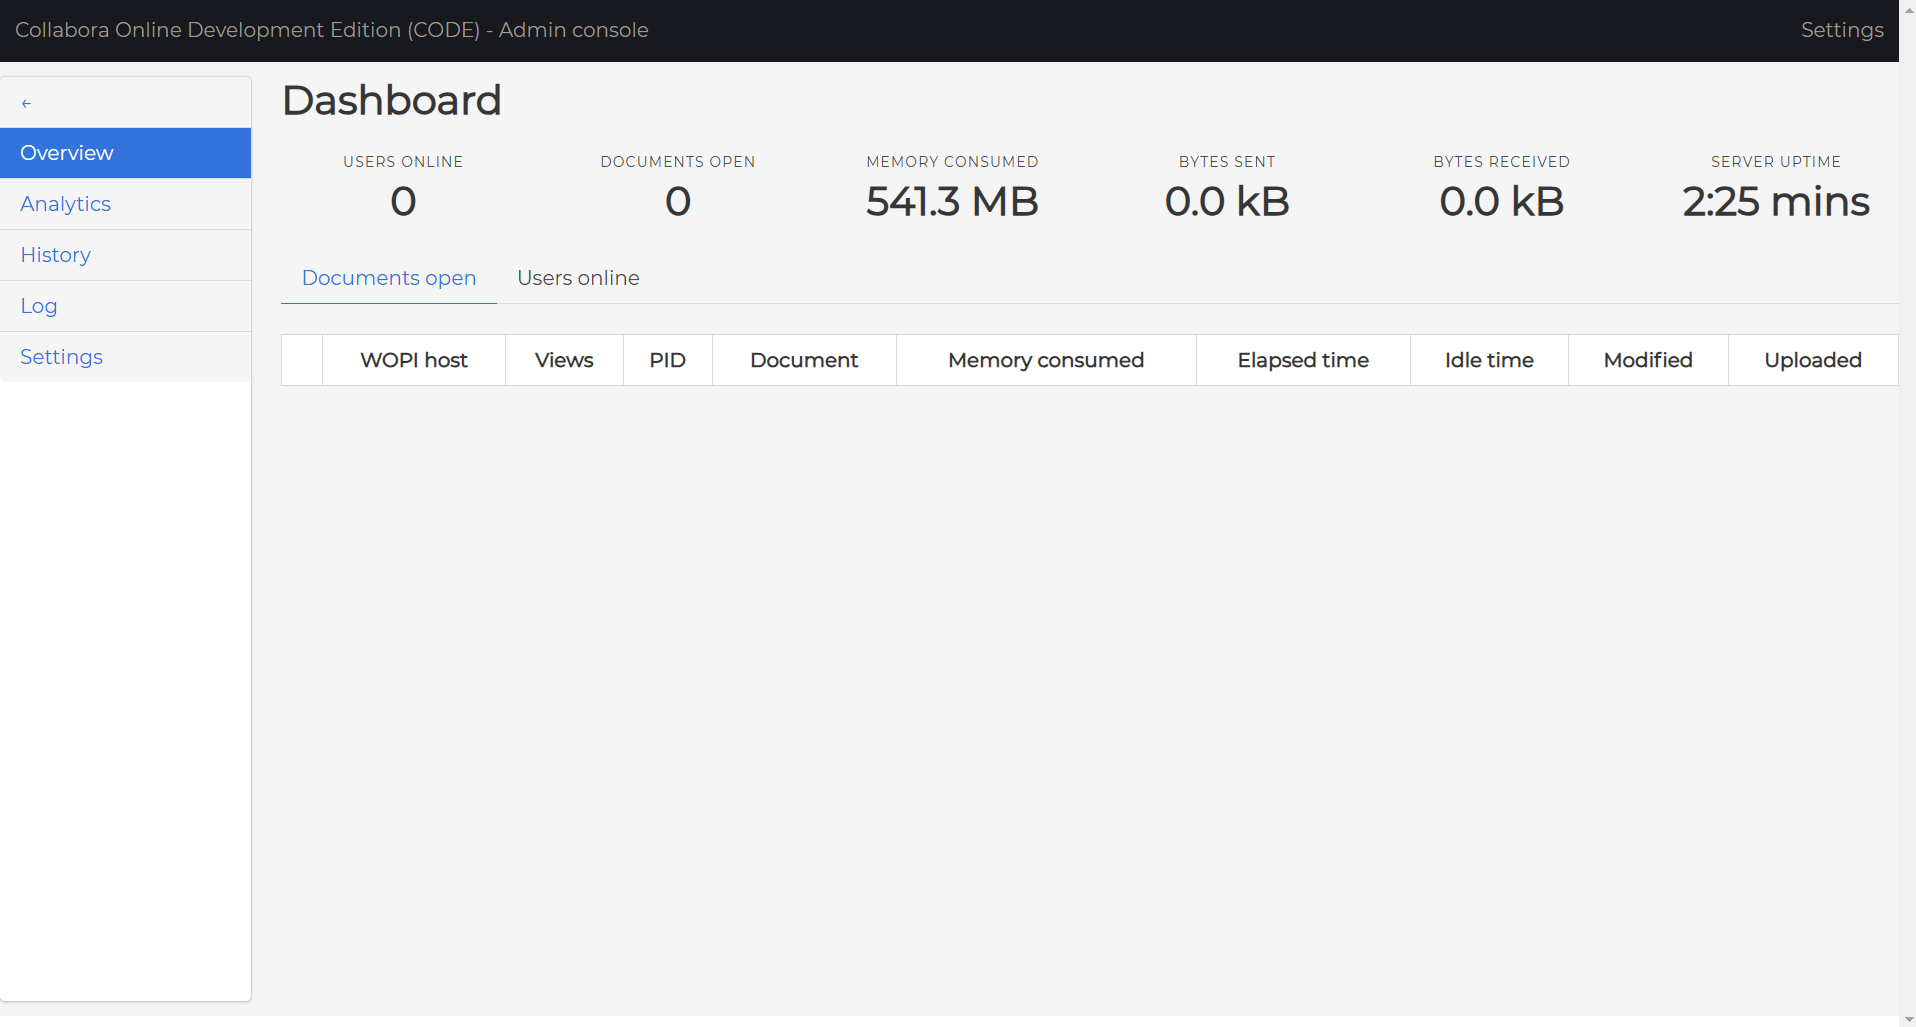
Click Web UI on the Application Info widget to open the Collabora web portal sign-in screen.
The following section provides more detailed explanations of the settings in each section of the Install Collabora installation wizard.
Accept the default value or enter a name in Application Name field. In most cases use the default name, but if adding a second deployment of the application you must change this name.
Accept the default version number in Version. When a new version becomes available, the application shows an update badge and the Application Info widget on the Installed applications screen shows the Update button.
Collabora configuration settings include setting up credentials, APT packages (previously referred to as the commands), the host IP and port, data directory path, upload limits, execution times, memory limits and cache memory consumption, adding a cron job with schedule, and adding additional environment variables.
The Collabora Configuration section contains a Database Password field. This is where you set the password Collabora uses to securely connect to your TrueNAS system. This is not the field where you enter your current Collabora password or the password you intend to use to log into the app.
Upon deployment, users can set the desired Collabora login credentials or log in to an existing account from the Collabora UI.
Users can select the Add Devices drop-down menu to configure device settings for any Collabora-compatible devices they currently own. Users do not have to own devices before installing the app and can leave this section blank if not applicable.
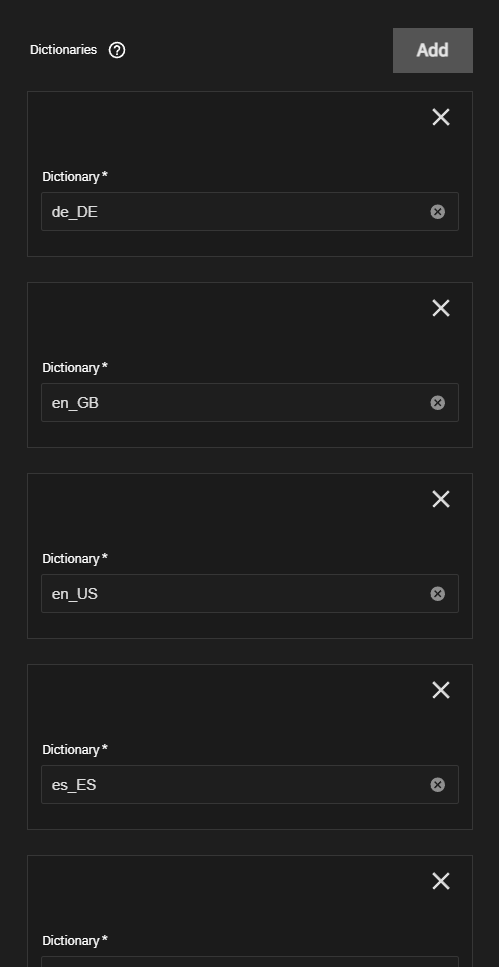
Collabora offers users the option to configure multiple dictionaries. The Dictionaries configuration specifies which spell-checking dictionaries are available in the Collabora UI, providing a valuable feature for multilingual environments. Users can accept the default configuration for Dictionaries, or add and remove unwanted default selections.
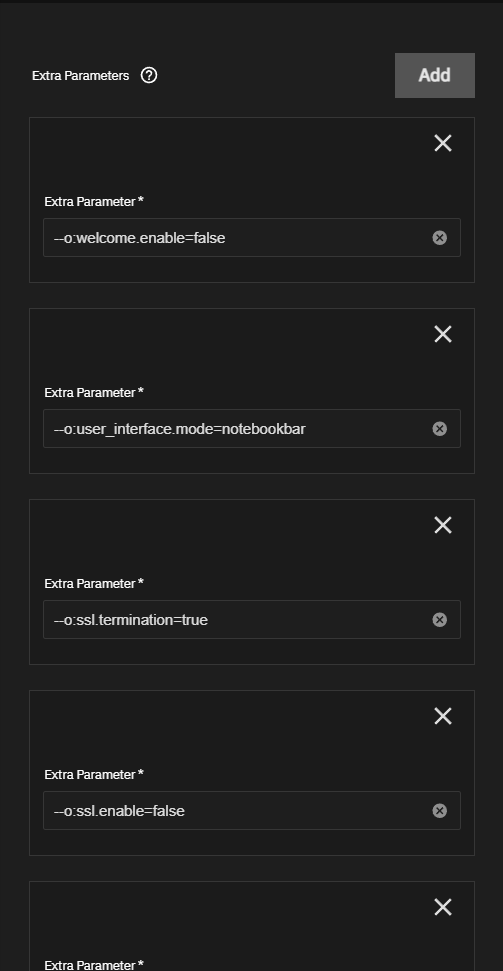
You can utilize the Extra Parameters settings to further customize the behavior of the Collabora UI. These parameters are passed directly to Collabora as command-line arguments when the container is started. Users can accept the default parameters if no additional customization is desired.
The app wizard is configured with all settings required to deploy the container, but you can add additional settings if you want to further customize the app in TrueNAS.
Click Add to the right of Environmental Variables to show a set of fields to configure the application with additional variables.
You can add environment variables to the app configuration after deploying it. Click Edit on the Application Info widget for the app found on the Installed Application screen to open the edit screen.
We recommend making a user and group for the Collabora app. If you follow the recommendation, give the user and group full access to the config-storage, media-storage, and data-storage datasets.
Some TrueNAS apps have predefined run-as user and group IDs. These assignments vary based on the app train and other variables such as installing but not running as the root user.
Default user and group IDs are:
- 473 for the MinIO stable train app.
- 568 (apps user), used in some community apps and all apps in the enterprise train
- 999 (netdata user), used for all postgres storage volumes
- 0 (root user).
Accept the default user and group ID in the User and Group Configuration section or enter the user ID for a new TrueNAS user created to serve as the administrator for this app.
Create any app administrator user before installing the application, and take note of the UID. Enter this user ID when configuring the user for the app and as the user when setting up storage volume permissions.
The default web port for Collabora is 9980.
All TrueNAS apps are assigned default port numbers. Accept the default port numbers, but if changing port number assignments, enter a number within the range 1-65535, however, 0-1024 might require the application to have elevated privileges. Before changing default ports, refer to the TrueNAS default port list for a list of assigned and available port numbers.
When using a certificate, the best practice is to import an existing certificate if your system is on release 25.10 or later.
Systems with the latest maintenance TrueNAS 25.04.x or earlier releases can create a self-signed certificate before using the app installation wizard.
If you did not create a certificate before starting the installation wizard, select the default TrueNAS certificate, and then edit the app to change the certificate after deploying the application.
Select the certificate created in TrueNAS for the app from the Certificate dropdown list.
TrueNAS provides two options for storage volumes: ixVolumes and host paths.
Collabora does not require users to create additional datasets for installation. We recommend creating a parent dataset for every installed application, but the Collabora app does not require this step unless users want to store persistent data on TrueNAS.
If you create datasets within TrueNAS for the Collabora app, set Type to Host Path (Path that already exists on the system), and select your elective datasets in the Host Path field.
If you group these datasets under a parent dataset named Collabora, configure the ACL permissions for this parent dataset and add an ACE for the Collabora user. If the app includes postgres storage volumes, include the following information If the app installation wizard cannot set up the ACL type or correctly add user permissions for the postgres storage volume, you must configure these outside the install wizard using the Add Dataset and Edit ACL screens. When adding the postgresdata dataset set it up with a POSIX ACL, and add the Collabora user as the owner user and group with full control permissions.
If you have a postgres dataset, also include information in the Before You Begin section about adding the dataset and permissions.
See the instructions in the Before You Begin section for more on creating both the parent and postgres_data datasets and configuring their ACL permissions. You can add extra storage volumes during installation or edit the application after it deploys. Stop the app before editing settings.
You can configure ACL permissions for the required dataset in the Install Collabora wizard, or from the Datasets screen any time after adding the datasets.
Select Enable ACL to show the ACL and ACE Entries options for host path volumes except for postgres storage volumes. Configure ACE entries for each UID and/or GID you recorded from the Run As Context widget in Before You Begin.
Select Force Flag to apply the ACL even if the path has existing data. This allows you to update the app when an update is available.
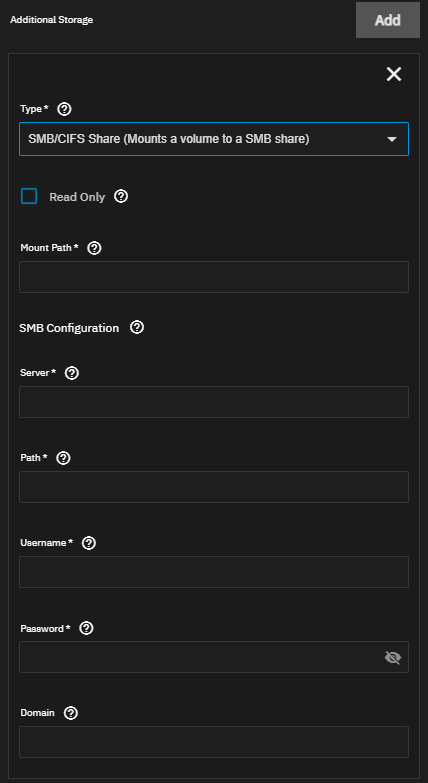
TrueNAS Additional Storage options include mounting an SMB share inside the container pod.
Set Type an SMB/CIFS Share (Mounts a volume to a SMB share) to add an SMB share storage volume.
Select Read Only to make the storage volume read only.
Enter the path inside the container to mount the storage for the share volume in Mount Path.
Enter the server address for the SMB share in Server, the path to mount the SMB share in Path, and the share authentication user credentials in User and Password. (Optional) enter the share domain name in domain.
Permissions are currently limited to the permissions of the user that mounted the share.
Use the SMB option for data synchronization between a share and the app if the option shows on the screen. A present, only the Syncthing app includes this option.
Accept the default values in Resources Configuration or enter new CPU and memory values. By default, this application is limited to use no more than 2 CPU cores and 4096 megabytes available memory. The application might use considerably less system resources.
To customize the CPU and memory allocated to the container the app uses, enter new CPU values as a plain integer value (letter suffix is not required). The default is 4096.
Accept the default value (4 Gb) allocated memory or enter a new limit in bytes. Enter a plain integer without the measurement suffix, for example, 129 not 129M or 123MiB.
Users often utilize Collabora and Nextcloud together, as Collabora allows users to open and edit documents stored in their Nextcloud account. This integration lets multiple users edit a document simultaneously while providing live comments, suggestions, and version histories.
Users who download the Collabora and Nextcloud applications on TrueNAS can access the Apps section in the Nextcloud UI to find the Collabora Online application.
After installing Collabora Online, users should navigate to the Collabora Online tab in Nextcloud and enter their Collabora server address in the Collabora Online server field.
This successfully integrates Collabora and Nextcloud accounts, enhancing document access and editing capabilities.
For more details on installing Nextcloud, visit the Nextcloud TrueNAS tutorial.


